Wednesday, December 5, 2012

A Clever Adventure- London, England


London, England!
Last March I went to London along with my daddy and Emily(one of my best friends who I will probably be mentioned at other times.) It was actually a 3 day layover after having been in Uganda, Africa, for 2 weeks.... I mean if you're gonna be "overseas" you might as well stay there for a day or two! My dad has been to London 2 or 3 times before, so he was GREAT at leading us around everywhere. We got to see a lot of the touristy type things of course, but we also got to see the non-touristy side of London. It made for an adventure to be sure... 

From hidden pubs for drinks, hair salons called, "'enry 'iggins", world famous crepe kiosks, and cab drivers who call you, "Dear", to lamp posts down every beautiful street and alley, glove shops, and riding The Tube, we got to experience a magical portion of London in just 3 days and we adored it! 

 This is how Harrod's does cupcakes y'all... 
I want to try to do this!


Floral Jasmine Cordial-
 It's like honeysuckle in a bottle!
(Harrod's Food court)
This would be amazing in whipped cream or icing.
-Photo taken by Emily Gluntz Photography-
This is what all radios should look like! hehe :)
(Harrod's electronics)

Sparkly Donuts? YES PLEASE!
You can buy edible glitter at most craft stores too so how fun to put glitter on donuts yourself?! or cakes?! or cupcakes?!
 (Fun idea for a little girls b-day party!) 
http://www.michaels.com/Edible-Glitter/bk0394,default,pd.html 
Always. :)
(Coco Chanel store window.)
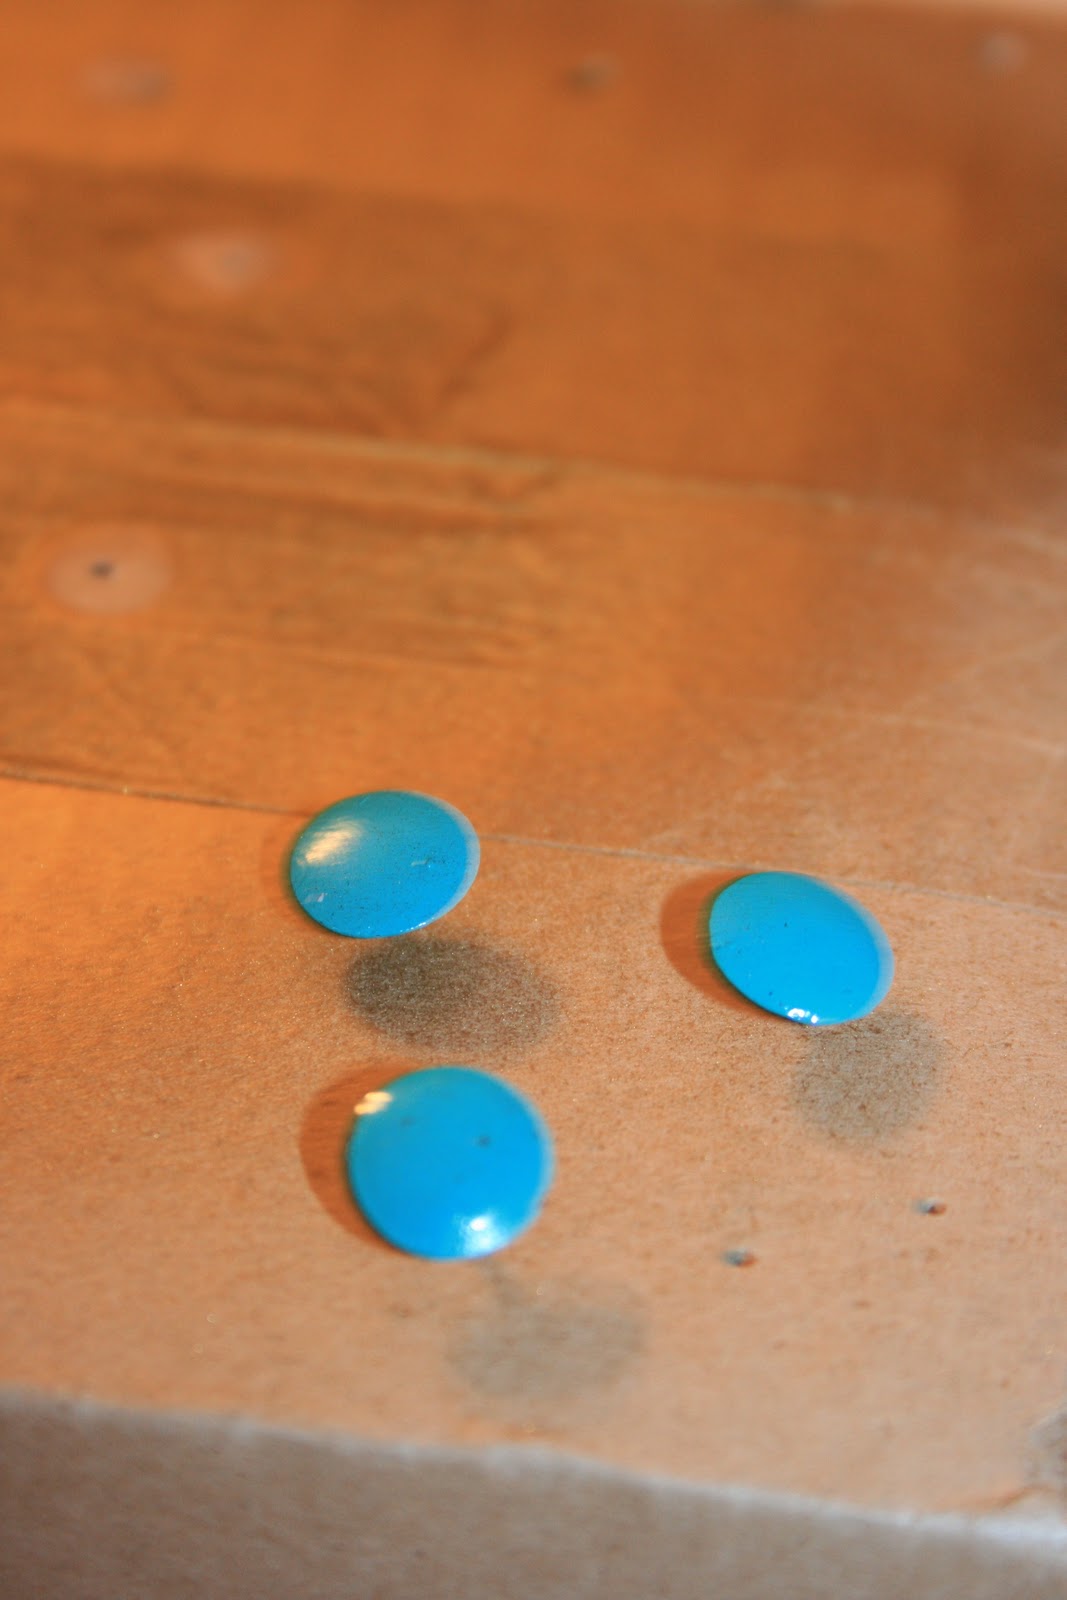
Rose and Lemonade, Ginger and beer... Interesting combos!
Binoculars for hire at Her Majesty's theater behind each seat. I've never seen these in the US! 
Black board labeled spice, or anything, jars. 
Adorable and CLEVER!
You can buy here: (http://www.anthropologie.com/anthro/product/home-kitchen/23864820.jsp
Anthropologie was full of amazing knobs!
Buy here:
http://www.anthropologie.com/anthro/product/home-hardware/770549.jsp 
Display in Anthropologie: Page Roses!
Clever: This girl and her photography!
She took a picture in my sunglasses, reflecting her,
her camera, and the London Eye.
(Emily Gluntz Photography-
http://dreamsoffrippery.blogspot.com/p/portraits.html)
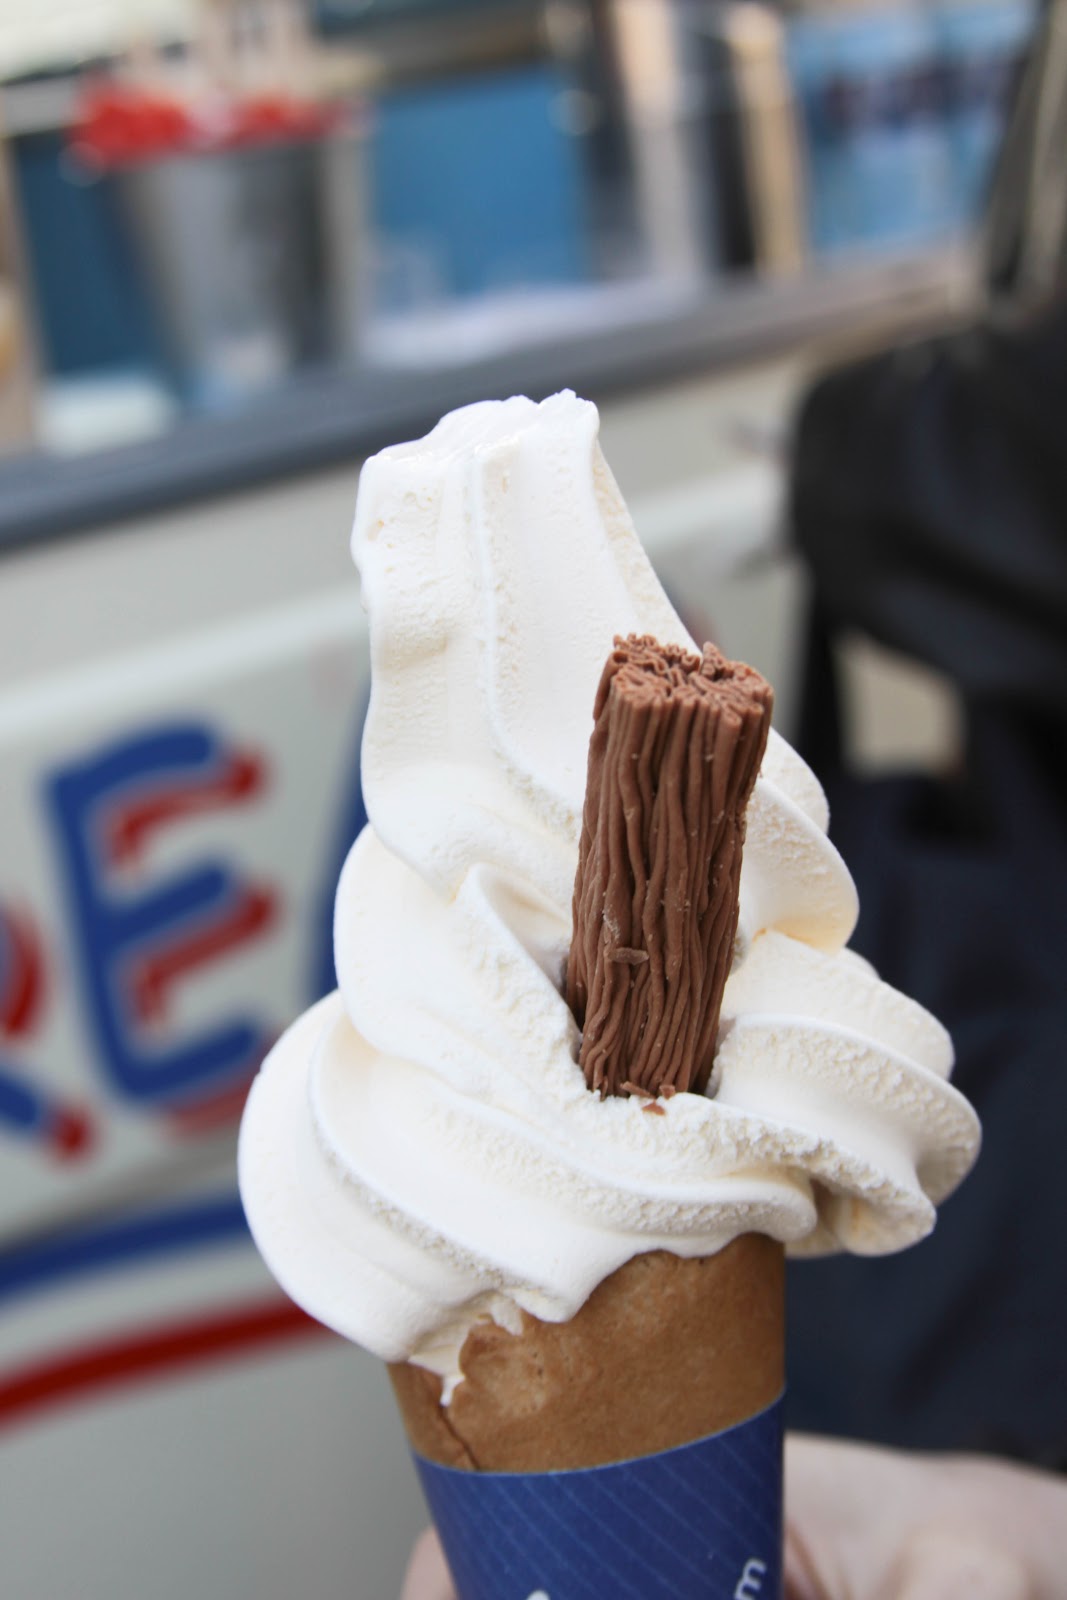
I mean OF COURSE even the ice cream cones 
in London are cool...
-Photo taken by: Emily Gluntz Photography-


Smashed Peas. :) ...I hate peas, 
but I love the idea! 


"Chihuly" glass blows my mind. 
 This artist and his team are incredible!
(This is at the Victoria and Albert museum.)
Check it out the glass here: http://www.chihuly.com/museums.aspx

...'Cause they had no lawn.


Horse's head: Apparently someone thought this would be clever.... ??
Deep fried seaweed-DIVINE! 
We ate this at "The Gold Fish", an Asian inspired
 restaurant we had dinner at one night.
Glove shops? How fabulous!


Sorry this ones blurry. :/
There was a city wide Easter egg hunt in London.
These "egg stands" were everywhere and you were supposed to hunt them.... How fun is that?!


____________________________________________________

   
AND that's all folks! I hope these pictures inspired you, made you want to create something, go to London, or ALL of the above! Enjoy~

....and it's all For the Love of Clever. :)

Friday, October 19, 2012

Art idea: USE TACKS!


 I found some tacks the other day--> (http://www.staples.com/Staples-Nickel-Plated-Thumb-Tacks/product_480119(I am employing the southern usage of that term, "the other day", meaning I probably found them MONTHS ago....) They inspired me and I thought they'd look cool in art projects. They add a 3D element and they hold things in place without using glue, and I will take ANY excuse to NOT use glue!!
        
 Now in my attempt to be clever, I decided to paint them. BRILLIANT! wait uh.... I mean CLEVER! Anyways... I can now match my tacks to any projects I do(examples of what I mean are at the end of this post).


Here's the "How To" folks:
                                                                                
              -Stick the tacks into small pieces of card board to dip the tacks into the paint.


(Painting the tacks with a brush wouldn't work as well because it would be too streaky and take several coats and I'm all for ways to minimize the necessity of multiple coats.)
-After the paint dries, paint Modge
 Podge on top so the paint doesn't chip.


Fun fact: I hardly EVER 
wash my paint trays~


*For sparkly tacks: 
    Dust any kind of glitter over the wet, already "dipped-in-paint" tack before you paint on the Modge Podge. (I chose to match the paint with the glitter when I did my sparkly tacks, but you could always have a yellow tack with blue glitter or some such combination. Be creative with it!)  


...and that ladies and gentlemen is the most simple 
instructions I will probably ever give... Have fun yall!  
______________________________________         


~Here are the tacks I did~

____________________________________

These are some of the projects I did using tacks.

(Canvas art collage)
(Card stock, feather, and quote are mounted on a wooden plaque, held in place with tacks.) 
(Quote: "Awake My Soul", Mumford and Sons)


....and it's all "For the Love of Clever" :)

Friday, September 21, 2012

Skirt hemming/Waist band removal tutorial: BEFORE and AFTER


The Story: Thrift store shopping!
 I found this skirt at Goodwill. The length made me want to cringe! But I saw potential in this interesting-or awful- fashion item. All I needed to do was chop off the length, remove the elastic waist, and fit it to my natural waist= easy fix!
After that, this $4 dollar skirt turned into an adorable,  and non-awful skirt. ;)


  The Alteration: 
-FIRST find out the measurement from your natural
 waist to your knees (or where ever you want it to end) and then add
 2" inches to that length.
-NEXT mark your length measurement down the front, all the way around the skirt so you end up with a "line" of pins(see picture). 

Once you've pinned all the way around the skirt,
cut at the pinned line all the way around.
TO HEM: Turn down a half an inch, then iron.
Next turn down 1 and 1/2" inches all the way around, iron and pin.
Since the circumference gets smaller as it gets to the waist, you have to do some
 of these "tucks" in the hem about every 8 inches or so. 

(Don't worry you can't see them from the outside.)
If you happen to have buttons down the front, make sure the hem lines up with each other.
(One side being longer then the other is not cool, hipster, or unique in any way.

 It's dorky :) .... fix asap! haha)


Now how to fix the offensive elastic 
waist band in the back... 

Rip all the seams surrounding the elastic waistband leaving the front
 waistband intact.

The elastic is now gone.
YAAAAAAAAAAAAAAAAAAAAAY!
To cut out the new "back-of-the-skirt-waistband", I used a piece of the hem that I had cut off. Since the hem already has a finished edge, use that edge for the top of the waistband.
(To find what the measurement is, simply measure the empty space where your old waist band used to be and add a 1/2" for seam allowance. SUPER simple.)


***Now make sure you sew the bottom of the waistband on first, and then the sides.
(Right side to right side of course)
Don't forget to put the finished edge at the top! ;)
(If you'd like to keep the belt loops, pin them onto the waist band before you sew the band to your skirt, then hand sew the top of the belt loops on.)

After that YOU'RE DONE!!!!!
Belt: Goodies, undershirt: Francesca's, jacket: Ross, necklace: Garage sale, 
Pendant: created by Elennna Flautt. :) (see tutorial for pendant:


_________________________________________________


I SPY: the photographer and her model. :) 
for letting me drag you to down town Franklin for the
 photoshoot of my newly altered skirt! <3 


... and it's all "For the Love Of Clever" :)

About Me

My photo
Tennessee, United States
A blog inspired by God's creation, fashion, sewing, furniture repurposing, the south, history, anything lovely....... Oh and clever! There WILL be clever~