Friday, September 21, 2012

Skirt hemming/Waist band removal tutorial: BEFORE and AFTER


The Story: Thrift store shopping!
 I found this skirt at Goodwill. The length made me want to cringe! But I saw potential in this interesting-or awful- fashion item. All I needed to do was chop off the length, remove the elastic waist, and fit it to my natural waist= easy fix!
After that, this $4 dollar skirt turned into an adorable,  and non-awful skirt. ;)


  The Alteration: 
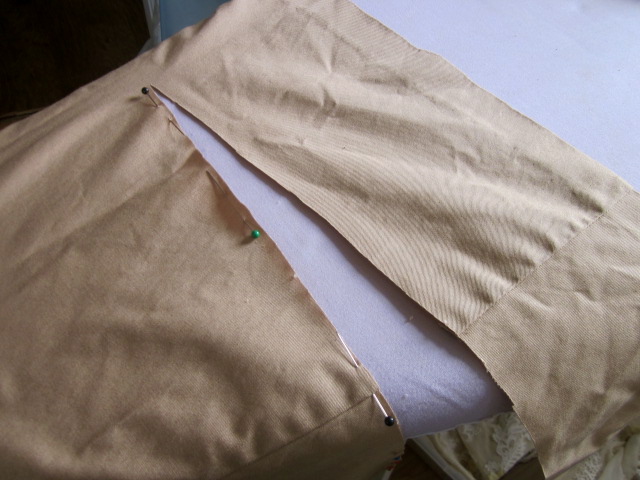
-FIRST find out the measurement from your natural
 waist to your knees (or where ever you want it to end) and then add
 2" inches to that length.
-NEXT mark your length measurement down the front, all the way around the skirt so you end up with a "line" of pins(see picture). 

Once you've pinned all the way around the skirt,
cut at the pinned line all the way around.
TO HEM: Turn down a half an inch, then iron.
Next turn down 1 and 1/2" inches all the way around, iron and pin.
Since the circumference gets smaller as it gets to the waist, you have to do some
 of these "tucks" in the hem about every 8 inches or so. 

(Don't worry you can't see them from the outside.)
If you happen to have buttons down the front, make sure the hem lines up with each other.
(One side being longer then the other is not cool, hipster, or unique in any way.

 It's dorky :) .... fix asap! haha)


Now how to fix the offensive elastic 
waist band in the back... 

Rip all the seams surrounding the elastic waistband leaving the front
 waistband intact.

The elastic is now gone.
YAAAAAAAAAAAAAAAAAAAAAY!
To cut out the new "back-of-the-skirt-waistband", I used a piece of the hem that I had cut off. Since the hem already has a finished edge, use that edge for the top of the waistband.
(To find what the measurement is, simply measure the empty space where your old waist band used to be and add a 1/2" for seam allowance. SUPER simple.)


***Now make sure you sew the bottom of the waistband on first, and then the sides.
(Right side to right side of course)
Don't forget to put the finished edge at the top! ;)
(If you'd like to keep the belt loops, pin them onto the waist band before you sew the band to your skirt, then hand sew the top of the belt loops on.)

After that YOU'RE DONE!!!!!
Belt: Goodies, undershirt: Francesca's, jacket: Ross, necklace: Garage sale, 
Pendant: created by Elennna Flautt. :) (see tutorial for pendant:


_________________________________________________


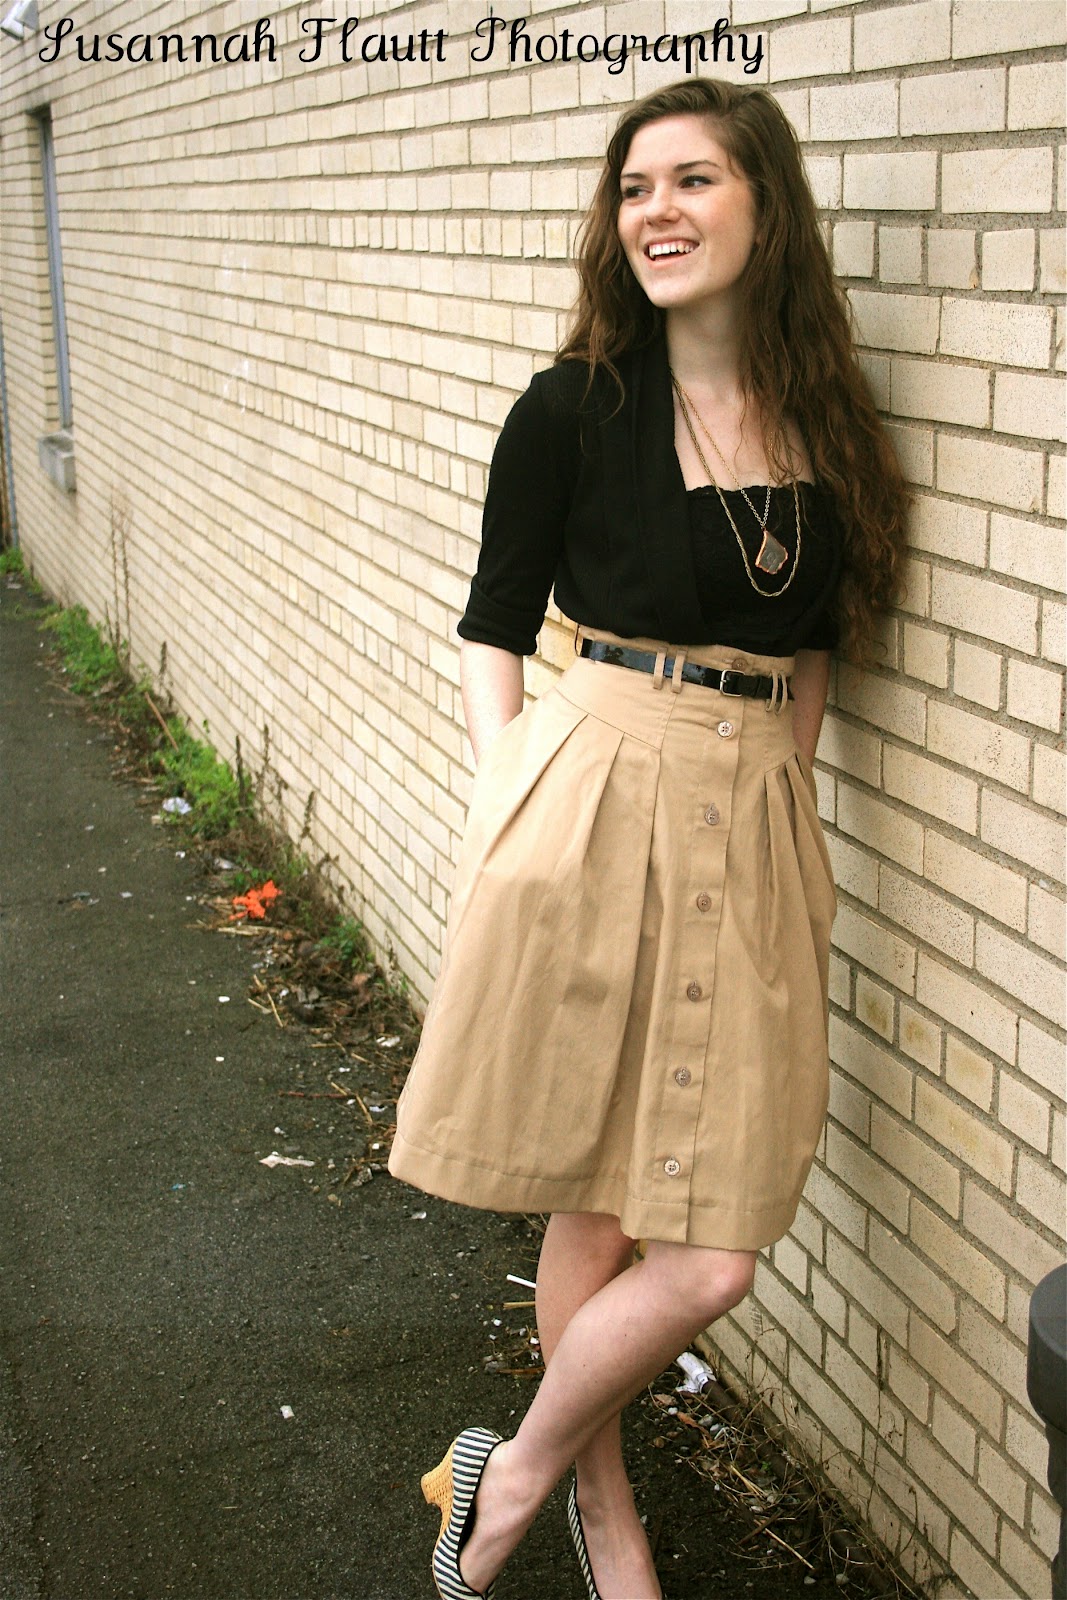
I SPY: the photographer and her model. :) 
for letting me drag you to down town Franklin for the
 photoshoot of my newly altered skirt! <3 


... and it's all "For the Love Of Clever" :)

Tuesday, September 11, 2012

Gluten-free flour and milk-free chocolate chips OH MY!!

Gluten-free flour:
I found out recently that I'm allergic to wheat and dairy products, so I've been having to get creative with my baking and eating. I've tried a lot of gluten-free flour substitutes and some have been dizzyingly awful, some have had good flavor, but weird textures, and so on and on the dramas of gluten-free flour continues.... But FINALLY I have a favorite mix for baking: 

King Arthur flour's "Glutenfree multi-purpose flour".

 My favorite part about this mix is that you don't have to add anything else in your recipe when using this as a flour substitute, if a recipe calls for 2 cups of flour, you can use 2 cups of this gluten-free flour... super easy! (I used the chocolate chip cookie recipe on the back of Ghiradelli chocolate chip bag.)

  
Dairy-free, good-for-you chocolate chips recipe:


  •    I used 2 ounces of Baker's baking chocolate. (It's 100% cocoa which means it's better for your then other chocolates which have added white sugars and preservatives etc.)
  •    Heat it up in a sauce pan, then I add enough raw agave nectar(much better for your then sugar), butter, and coconut milk to make it a smooth consistency- I just eye-balled it, and made sure it didn't taste bitter.
  •    To form them into chunks, spread the chocolate mix onto a wax paper covered cookie sheet and refrigerate. After the chocolate is solid to the touch(a few hours in the fridge will do), break it up with your fingers. 

The only downer to this chocolate chip recipe is that it's good for you and you could eat way more of it then normal chocolate and not feel guilty. 
oh wait.... this is NOT a downer!!!!!! ;)

   The gluten-free flour mix also works well for frying meats, and I used the flour with some sugar and cinnamon to "fry" some peach slices in butter and it was DIVINE! By using the chocolate chips, and the gluten-free flour you can also make gluten-free/milk-free chocolate chip cookies! So get creative with it, have fun, and praise the Lord for gluten-free flour! ;D

                       ....and it's all for the Love of Clever :)

About Me

My photo
Tennessee, United States
A blog inspired by God's creation, fashion, sewing, furniture repurposing, the south, history, anything lovely....... Oh and clever! There WILL be clever~