Showing posts with label Tutorial. Show all posts

Friday, October 19, 2012

Art idea: USE TACKS!


 I found some tacks the other day--> (http://www.staples.com/Staples-Nickel-Plated-Thumb-Tacks/product_480119(I am employing the southern usage of that term, "the other day", meaning I probably found them MONTHS ago....) They inspired me and I thought they'd look cool in art projects. They add a 3D element and they hold things in place without using glue, and I will take ANY excuse to NOT use glue!!
        
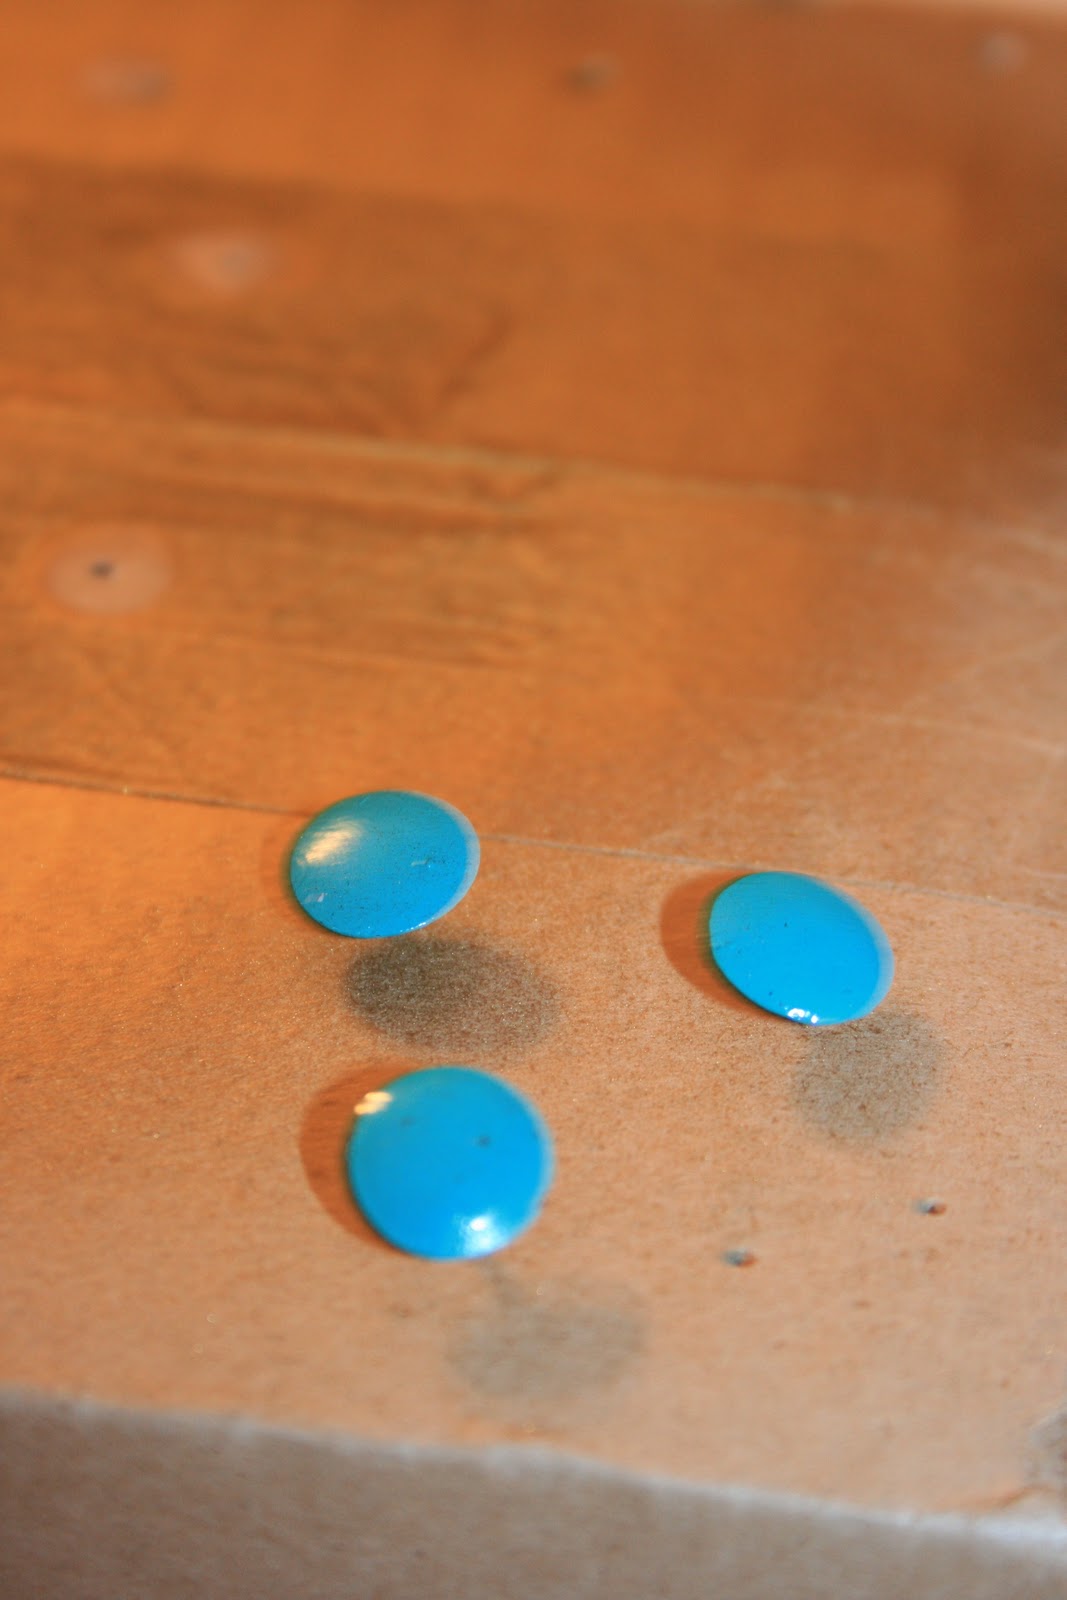
 Now in my attempt to be clever, I decided to paint them. BRILLIANT! wait uh.... I mean CLEVER! Anyways... I can now match my tacks to any projects I do(examples of what I mean are at the end of this post).


Here's the "How To" folks:
                                                                                
              -Stick the tacks into small pieces of card board to dip the tacks into the paint.


(Painting the tacks with a brush wouldn't work as well because it would be too streaky and take several coats and I'm all for ways to minimize the necessity of multiple coats.)
-After the paint dries, paint Modge
 Podge on top so the paint doesn't chip.


Fun fact: I hardly EVER 
wash my paint trays~


*For sparkly tacks: 
    Dust any kind of glitter over the wet, already "dipped-in-paint" tack before you paint on the Modge Podge. (I chose to match the paint with the glitter when I did my sparkly tacks, but you could always have a yellow tack with blue glitter or some such combination. Be creative with it!)  


...and that ladies and gentlemen is the most simple 
instructions I will probably ever give... Have fun yall!  
______________________________________         


~Here are the tacks I did~

____________________________________

These are some of the projects I did using tacks.

(Canvas art collage)
(Card stock, feather, and quote are mounted on a wooden plaque, held in place with tacks.) 
(Quote: "Awake My Soul", Mumford and Sons)


....and it's all "For the Love of Clever" :)

Friday, September 21, 2012

Skirt hemming/Waist band removal tutorial: BEFORE and AFTER


The Story: Thrift store shopping!
 I found this skirt at Goodwill. The length made me want to cringe! But I saw potential in this interesting-or awful- fashion item. All I needed to do was chop off the length, remove the elastic waist, and fit it to my natural waist= easy fix!
After that, this $4 dollar skirt turned into an adorable,  and non-awful skirt. ;)


  The Alteration: 
-FIRST find out the measurement from your natural
 waist to your knees (or where ever you want it to end) and then add
 2" inches to that length.
-NEXT mark your length measurement down the front, all the way around the skirt so you end up with a "line" of pins(see picture). 

Once you've pinned all the way around the skirt,
cut at the pinned line all the way around.
TO HEM: Turn down a half an inch, then iron.
Next turn down 1 and 1/2" inches all the way around, iron and pin.
Since the circumference gets smaller as it gets to the waist, you have to do some
 of these "tucks" in the hem about every 8 inches or so. 

(Don't worry you can't see them from the outside.)
If you happen to have buttons down the front, make sure the hem lines up with each other.
(One side being longer then the other is not cool, hipster, or unique in any way.

 It's dorky :) .... fix asap! haha)


Now how to fix the offensive elastic 
waist band in the back... 

Rip all the seams surrounding the elastic waistband leaving the front
 waistband intact.

The elastic is now gone.
YAAAAAAAAAAAAAAAAAAAAAY!
To cut out the new "back-of-the-skirt-waistband", I used a piece of the hem that I had cut off. Since the hem already has a finished edge, use that edge for the top of the waistband.
(To find what the measurement is, simply measure the empty space where your old waist band used to be and add a 1/2" for seam allowance. SUPER simple.)


***Now make sure you sew the bottom of the waistband on first, and then the sides.
(Right side to right side of course)
Don't forget to put the finished edge at the top! ;)
(If you'd like to keep the belt loops, pin them onto the waist band before you sew the band to your skirt, then hand sew the top of the belt loops on.)

After that YOU'RE DONE!!!!!
Belt: Goodies, undershirt: Francesca's, jacket: Ross, necklace: Garage sale, 
Pendant: created by Elennna Flautt. :) (see tutorial for pendant:


_________________________________________________


I SPY: the photographer and her model. :) 
for letting me drag you to down town Franklin for the
 photoshoot of my newly altered skirt! <3 


... and it's all "For the Love Of Clever" :)

Thursday, February 16, 2012

Sewing Treadle Base Turned Table


                My flee market savvy mother happens to own 3 old sewing machine treadle bases AND a lot of vintage suitcases. After seeing these I thought why not turn the treadle base into a table?! I really needed a piece of furniture in my room anyways..... not! (But hey when you make something cool, you MAKE room! haha) I also thought why not use a suitcase as the "table" part?! So an idea was born.
And here's my process...

This is the original treadle base I used as the base of the table.
I added 2 pieces of 2x4's that I stained a color that semi matched the metal. I then cut the pieces of wood to size. 
**If you don't have equipment for cutting pieces of wood, Home Depot or Lowes will cut it for you... How nice of them! :) 
      
                 I found a suitcase that fit. Yay me!
        
 And TA-DA!!..... wait is that really how you spell that? Anyway... Finished project!!! (of course you already saw it at the first, so it really doesn't deserve a "Ta-DA" because that implies a surprise.... dagummit.)
        
                  There's also a shelf.... WHAT!
(By the by, I'm fairly certain that adding a type writer to ANYTHING makes it spectacular! 
I highly recommend the purchase of one as soon as possible.)


....and it's all "For the Love of Clever" :)

Wednesday, February 8, 2012

Clay Rosette Tutorial


CLAY is the love!!! I've recently discovered that polymer/clay has so many possibilities! I just had to do something with it, so I made rosettes. (If you've ever made fabric rosettes, it's basically the same concept). Once you've made the rosettes you can add jewels in the middle, or dust it all over with glitter. I for some reason didn't, but seriously glittery rosettes?! I mean how cool would that be?!


Here's my Step-by-Step/Picture-by-Picture process of how I made a clay rosette. :) 


FIRST, before you start, the polymer has to be warm. 
If it's not pliable enough, it will start to get little cracks on the edges. It takes a while to get warm so me being my ridiculous self found that the best way is to put it in one of your pockets. Body heat people!! haha I personally put it in my back pocket and sit on it.... I'm clever, what can I say?! :P 

***Thanks to Susannah Flautt Photography 
for taking all the pictures of my step by step process!! She is a fantastic!***

HERE 'TIS!!

Take a small amount of clay and 
roll it into a ball.


Roll it out into a "snake". ;)


 Using some sort of smooth, rounded tool,
 roll it out flat. (about 1/16'') 
(make sure your tool ismooth 
or it will obviously make marks 
in the clay.) The thinner you make this 
strip the more delicate your rose will look!


These next parts you'll just have to watch. 
The key is make it the most tight at the bottom 
of the rosette.


A few times while making your rosette 
you're gonna want to pinch one of the layers.
It will give it a more real effect and also help
 the rose look more open.
See how the two pinches makes it 
open up more? 
At this point I sometimes pull
 the "petals" back a bit to make it
 look more open.


Make sure there are no gaps on the bottom
or else the outer petal will wobble and 
not be super secure after you bake it.
 GENTLY squoosh the bottom together....


...and voila! :) They will ALWAYS turn 
out differently every time you make it so it's
 always fun to see the finished product!! <3                             


Put Parchment paper on a cookie sheet
 and cook your rosette at 275 degrees for 15 
MINUTES. 
(unless the package of your clay says something different.)


These are the first ones I did. :) I'm just so proud. *tear*.... 
okay not really. Honestly I didn't let the clay warm enough 
so there are weird little breaks in the "petals" when I rolled it out. You can see if you look closely.
*FYI: When you bake them, the color tends to darken. 


Now that you've made the rosettes, you can turn them into anything! 
My personal favorite....
EARRINGS! 

....and it's all "For the Love of Clever" :)

About Me

My photo
Tennessee, United States
A blog inspired by God's creation, fashion, sewing, furniture repurposing, the south, history, anything lovely....... Oh and clever! There WILL be clever~